Thursday, May 15, 2014

XGD


During rainy weeks like we are experiencing, the practices conducted on greens become a balancing act.  As many of you know, currently half of our native ("push-up") greens contain XGD drainage that was installed in 2011 and the other half have nothing with the exception of the 15th green, which contains an old terracotta style drainage system. 

I have been asked multiple questions by peers and members concerning the state of our greens and how I manage them following major rain events.  From an agronomic standpoint, I manage the greens very similar when it comes to fertility, chemical and water applications.  The only difference would be that I have to do site specific applications on the drain lines of the XGD putting surfaces because the sand based profile dries out and leaches faster than the native mix that our greens contain.

Daily maintenance practices is where the true balancing act occurs, let's paint two scenarios:
  1. Rain the previous afternoon or night before:  When setting foot on the property following a rain event, I have the normal routine of driving 7 backwards, this allows me to walk on a mixture of XGD and non-XGD greens (For the record, greens with XGD are 1,2,3,4,9,12,13,14 & 16) to decipher how saturated the putting surfaces are and what practice we can conduct that morning.  Typically following #1, I go to number 18 (which tends to be our wettest green, in my opinion) to ultimately make the decision and radio the assistants before starting the crew.  If we can mow, traditionally we mow all XGD greens first and then cycle back to mow the non-XGD greens in hopes of allowing additional dry time.  If I deem the non-XGD greens to saturated for a mower, then we skip mowing that morning all together. I think this is important in keeping the greens consistent for the golfer and from a playability standpoint.  Greens speeds would vary from hole to hole and day to day for the golfer if we were to just mow certain greens. 
  2. Rain expected that day or before being able to finish greens: If the forecast or radar indicates the possibility of significant rainfall on a morning prior to 10:00am, then we set the golf course up by mowing/rolling the non-XGD greens first and then cycle back through to finish up the remaining greens or I'll split the greens crew in half to mow non-XGD, with others starting 1 forward to stay ahead of play.
The above scenarios paint the picture when it comes to the playability difference between XGD and non-XGD greens from a daily setup.  Outside of mowing practices, there is a distinct difference in the firmness between the two on days following rain; in addition to multiple days during the drying out process.  Ultimately creating two distinctly different playing surfaces in how a shot is going to respond from the fairway or around the green.

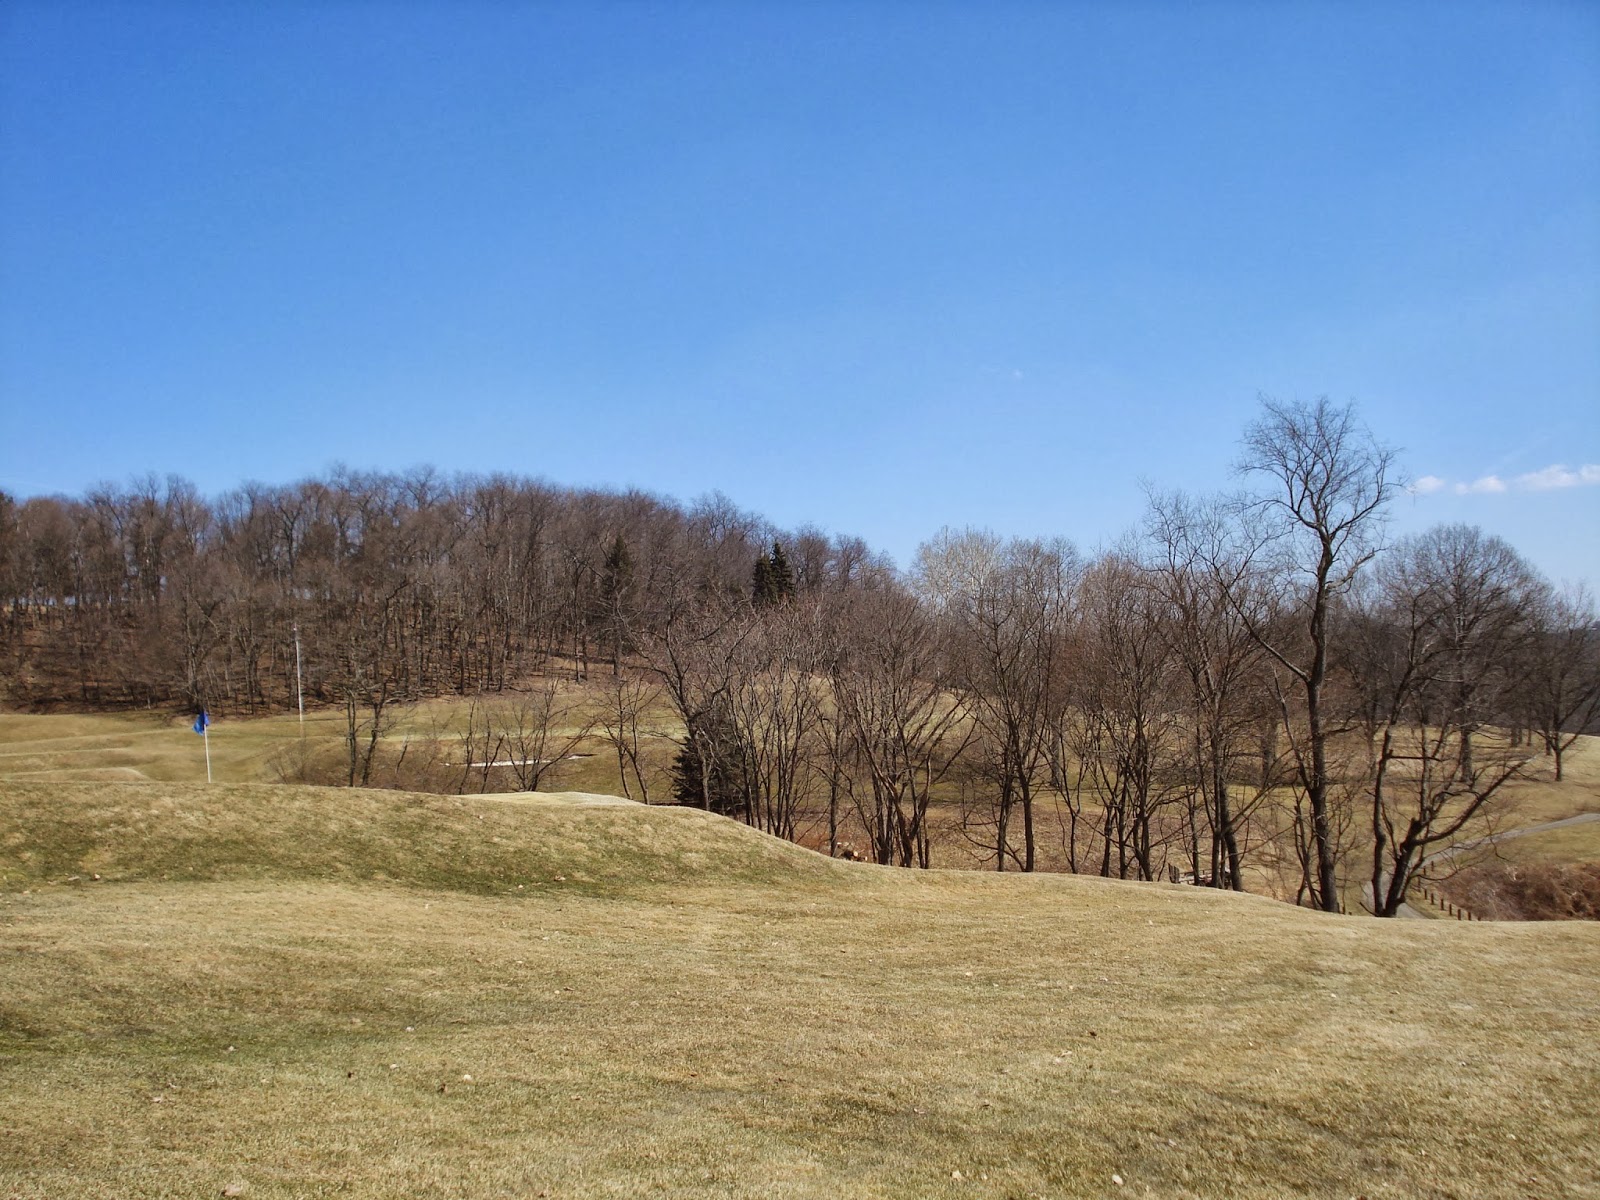
A lot of information to process, I know....the good news is that the end is in sight!!  This coming October we will be installing XGD drainage into the remaining 9 greens.  Installation is slated to begin on 10/20.  Over the past year, I have traveled the course often during rain events and took pictures of the non-XGD greens along with other drainage concerns on the course.  These pictures will serve as an excellent reference when meeting with the contractor to lay out the drainage of each green.

 
Having visuals of surface runoff will allow us to design the proper layout to intercept water as it moves across the putting surface.
 
 
Additional drainage can be added in problematic lows that could be prone to thinning turf because of prolonged saturation or scald from those pesky afternoon thunderstorms during the heat of the summer.

 
Another benefit would be reducing winter damage, having drainage in lows that traditionally hold water will aid in the freezing and thawing cycles we experience following each snowfall.
 
 
Exciting times are in store at Longue Vue and on behalf of the Greens Department and Greens Committee, we thank the membership for their generosity in allowing us to conduct these game changing tasks.  We remain committed to making LVC the best it can be!
 
As always, I look forward to seeing you on the course....just leave the rain home with ya, ok!  


Friday, April 25, 2014

Ball Marks


Over the past few weeks, I have started off my day by heading directly to the 4th and 7th greens prior to any maintenance practices being conducted on these surfaces to monitor the recovery from the winter damage that has occurred.  It's no secret that us turf managers are sensitive individuals when it comes to turf, we consider the property that we maintain as our livelihood and some would say that they have been known to have some pep talks or motivational words of wisdom for areas of concern.  Therefore, you could understand my disappointment when I approached the 7th green this morning.
 
The golf balls in the above picture represent that amount of unfixed ball marks over the last few days.  Well over a hundred balls were placed in imperfections created by approach shots into the green (see picture below).  The sad thing is that the 7th green is not the only scenario on the entire course, as multiple greens are experiencing an increased amount of unrepaired ball marks this season.
 

It is important that everyone understands the ramifications of leaving a ball mark unattended.  From an agronomic standpoint, ball marks alter root structure along with creating scars that occur following a mowing.  The recovery process is greatly reduced when a ball mark is properly repaired.  Unattended ball marks also greatly influence the playability of putting surfaces by effecting ball roll.  I have included a short video from the USGA on the proper techniques in repairing a ball mark, please take the time to watch.
 
 
In closing, repairing a ball mark is all about respect and serves as the proper etiquette while playing the great game of golf.  Hopefully over the past year, the efforts by the Greens department have shown what our putting surfaces are capable of, but the continued success has to be a joint effort between the golfers and maintenance practices.  Please take the time to not only repair your ball marks but one or two more per green, remember....it's the little things that will help LVC strive in the future!
 

Thursday, April 3, 2014

Process of Aerification and Course Update


The greens department was able to find a break in the weather earlier in the week to perform our bi-annual process of aerification on the greens.  My hat is off to the staff, with limited numbers and a lengthy frost delay on Monday morning, we were able to complete all putting surfaces by 6 pm on Tuesday night.  This process serves as the foundation for not only the upcoming season but improving the soil profile for years to come.  Below are some pictures and description of the process:


The process began by pulling 5/8 inch cores on 1.5 spacing

 
The next step was to clean up the cores.  Blowers, shovels and level lawns were used to move the cores to the sides of each green before being removed via carts.  Cores are stock piled at the shop and used throughout the season as a fill with projects, stump holes and cart path edges.


Following clean-up, each surface is then rolled to smooth out the imperfections created by the process and the traffic with clean-up.


Next, we applied soil amendments to be incorporated into the holes prior to topdressing.  These amendments aid in the infrastructure on the soil properties along with jump starting microbial activity.

 
Then sand is applied, this season we were able to put close to 90 tons on our putting surfaces.  The continued incorporation of sand with Aerifications will drastically aid in the health of the greens.  Not only does sand improve the growing medium for roots, but it improves playability with firmness and aids in surface drainage following rain events. 

 
The finished product.


The timing of Aerification couldn't be better, on Wednesday morning the golf course received a little over 3/4 inch of rain that served as a blessing in moving the sand into the canopy.  More rain is expected tonight through Saturday morning in combination with warmer temperatures that will  expedite the healing process.  You may have noticed the email sent out by Steve yesterday concerning the use of temporary greens, we apologize for this short-term inconvenience.  With the process of aerification, greens become fragile and soft under foot.  That in combination with the 2+ inch rainfall over the next couple of days will create extremely saturated soil conditions.  To avoid imperfections and long lasting damage to the putting surfaces, we have decided to use temporary greens on a day to day basis during the healing process.  Thank you for your support!


Above is a sneak peek at the new view off 16 tee, the contractors still have a few trees to remove but hopefully you can already see the difference. 

Friday, March 21, 2014

Tee Project Process

 
Last week, I mentioned that we have developed a new game plan with the Tee project of restoring all the tees to their original square intent.  If you remember from a post last October, we started this project by identifying our new teeing ground then using a sod cutter to strip the entire area followed by transplanting bentgrass sod.  The problem was that this took a lot of time for each tee because of the amount of prep work (see pic below) prior to laying the sod to ensure a level consistent teeing ground.


And let's face it, unfortunately, patience has never been my strong point.  During a couple of weeks this past fall prior to winter setting in and forcing us to stop because of the frozen tundra, we finished only two holes (8 & 9). Over the past week (yep, one week) we have identified and prepped all remaining tees on the property.
 
 How did we do?  Well, below is an outline of the process....
 
The beauty of the new process is that the shape of the tee complexes were built to support the square tees, the square shape had just been lost because of mowing patterns over the years.  Therefore, we started by looking at each individual tee to evaluate what needed to be done to recapture the square design with the least amount of disruption possible.

 
We started by marking the center of each tee and indicating the proper angle in relation to the landing zone or green for par 3s.


Then we measured to the sides to achieve a uniform width in relation to the cutting width of our tee mowers.  During this stage, we addressed each tee to see how much additional space we could create while maintaining a level teeing ground and considering maintenance practice (being able to operate a mower safely with the severity of slopes on our tee complexes).


After identifying the new tee surface, we took a sod cutter to the outside of the paint lines where any bent was located.


Removal was mainly located to the front and back portions of tees.  Rough sod will replace those voids.

 
For the overgrown areas inside the paint lines (previously maintained as rough), we began the process of scalping those triangles down to form the new square shaped tee. This process is the time saver of the project because we've eliminated the tedious process of stripping, grading and replacing bent sod.


The scalping process will take a couple of weeks as we slowly take the turf down to the existing tee height.  There is plenty of underlying bent in these areas, which was an additional factor we considered when looking at each individual tee.  How much level tee space can we create while having bent to work with. 
 
 
An additional benefit to the project was that it allowed us to address the alignment of a few tees.  As you can tell from the picture of the white tee on #14 below, the existing shape of the tee was aligned with the left fairway bunker.  This past season, we used mowing pattern to create a visual change for the golfer.


This project has now allowed us to tweak the tee slightly to the right, thus creating a properly aligned tee to the landing zone.
 
 
This time next week, we should have all the rough sod in place and a new uniform finished product! 


Thursday, March 13, 2014

Course/Project Update

 
Course Update:
 
We have had the good fortune of experiencing a few breaks in the weather over the past week that has allowed the Greens department to button up winter projects and transition into preparing the property for the season.  We have finished our tree removal program for the 2013/14 off season, including all the prep work that follows with removing a tree in grinding the stump and backfilling.  These areas will be seeded in a couple weeks once spring finally sets in.   Along with the long term project of cleaning up woodlines, emphasis was placed this offseason on removing deceased trees along with selecting key areas that removal would aid in improving the agronomic conditions and playability.  An example would be the 13th hole pictured below,  selective removal took place on the tee complex to address the encroaching trees while still providing a screen from the 12th.  In addition to the tee complex, removal occurred on the right side of the fairway to improve the quality of turf in landing zone of those wayward tee shots to the right.
 
 
All together the staff removed 40+ trees (not including continued work on the woodlines) over the winter.  In addition to wrapping up tree removal, the staff has begun prepping beds for the spring mulching and have started to address all the debris that occurs on the course throughout the winter months.  We have also dove back into the tee restoration project that was started this past fall with a new method of attack that will hopefully speed up the process (stay tuned for a detailed post of the process in the coming weeks).  I'm optimistic that spring is right around the corner and the next month will be extremely busy with aerification, bunker work, mulching, tee project, yardage tag installation on sprinklers and firing up those mowers!


Project Update:
 
The tree removal project on #12 gully is coming along nicely despite the limited work schedule due to the weather and conditions preventing accessibility.  Below are a couple of pictures that will show the progress over the past three weeks. 

2-18-14

3-13-14
 
 2-18-14

 
3-13-14
 
The renovation of our first building in the Maintenance compound is nearing completion.  All the electrical work has been updated along with the installation of insulation and a new ceiling in the interior of the building.  These additions will drastically improve the working environment of the building as both grinders will now be able to operate at one time and the upgrades will finally provide a building that will retain heat during the winter months.  All welcomed additions to phase 1 of the maintenance compound renovation/restoration. (Thank you members!)  The first building should be complete by the end of the next week as we are just waiting on the delivery of the new doors.  Following completion, we hope to break ground on the new Chemical and Fertilizer building by the first of May.   


Before
 

After

New roof being installed
 
As always, stay tuned to the blog for updates in the upcoming weeks monitoring our progress as we prepare for the season.  Till then, dust off the clubs and we look forward to seeing you on the course!